Editor’s note: being a mega-cheapskate, our fellow modder Nikita aka N1kk decided to a series of DIY modding guides that would consume as less cash and time as possible. The first modding guide from N1kk is about making LED case feet.
There are various retail LED Case feet on the market, but sometimes they just don’t fit you for various reasons, for example some retail LED case feet are too high. For these reasons we are going to make our own LED Case Feet from plexiglas and i’m going to tell you how we are going to do it in this small modding guide.
Materials needed for making LED Case feet
We’ll need some tools & materials to make our LED case feet, which include the following.
Tools:
- Drill
- Jigsaw or hole saw
- Knife
- Soldering iron & accessories
Materials:
- A sheet of plexiglas (acrylic)
- LEDs of needed color
- Wires
- Double sided sticky tape
- Heat shrink tubing or insulating tape
- Glue
The process of making LED Case feet
First we need to take a sheet of plexiglas and cut the bodies of the case feet of the desired shape from it. I chose to make round case feet so i used a hole saw, but if you choose to make your case feet with some complex shape it would be wise to use a jigsaw. If you don’t have a sheet of think plexiglas, like me, then you can make them multilayered: cut out more bodies of the case feet and glue them together, so each piece would be a layer. The number of layers depends on the hight of the case feet that you’re making. You can glue the layers together with optical glue, solvent cement, super glue or even dichloroethane, if you’re a real cheapskate, like me, but be careful because dichloroethane is toxic and needs to be worked with in a ventilated environment. After glueing the pieces together I got four case feet with a radius of 3 cm & thickens of about 9 mm. After that we need to drill holes in our case feet, so we can install LEDs in them later.
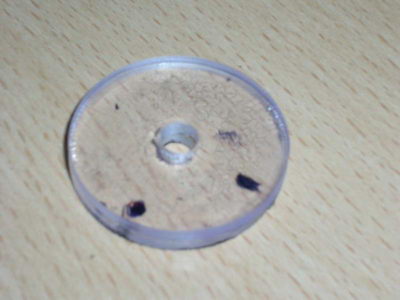
The first of our case feet is ready
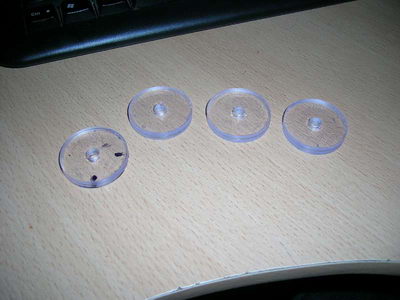
All four case feet are ready
Next we need to make some type of mounting mechanism for our case feet. The simplest & most universal way is to place two pieces of double-sided adhesive tape on each of the case feet. Double-sided adhesive tape will ensure a reliable connection of the case feet to the chassis of a pc case.
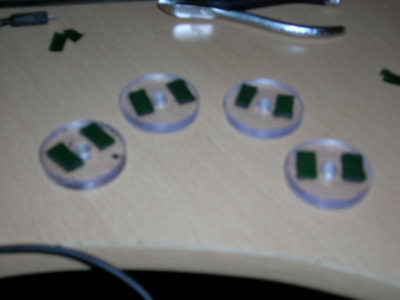
My four case feet with double-sided adhesive tape on them
Now we need to disconnect the standard rubber or plastic case feet from the computer case.
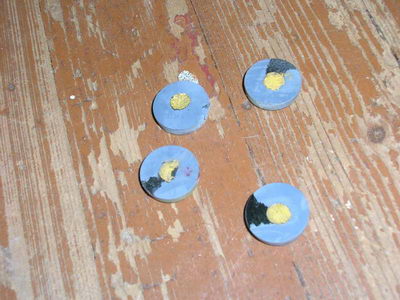
Standard rubber case feet from my pc's case
Next we need to connect and solder all the LEDs. I connected the LEDs sequentially, insulating all the contacts with heat shrink tubing. Don’t be surprised when you’ll se a mini-jack in the photo — i’ve converted most of the molex connectors of my PSU to mini-jacks for aesthetic purposes, so my LEDs are also connected to the PSU by a mini-jack connector.
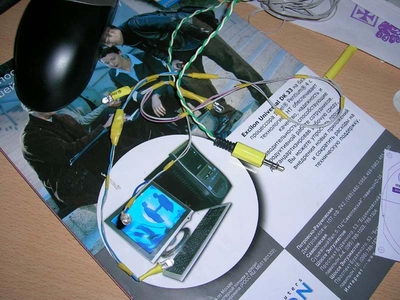
Four LEDs connected sequentially and soldered to a mini-jack
Installing our LED Case feet
Ok, so our LED case feet are ready and we’re going to install them onto the pc chassis.
My pc’s case has holes on the bottom its chassis, where the standard case feet where installed, so i don’t need to drill holes for the LEDs. If your pc’s case doesn’t have these holes, you’ll need to drill four holes in the bottom of your pc’s chassis.
I glued my new case feet to the chassis with double-sided adhesive tape in place of standard case feet. I used a pencil as a centering tool to help align the holes in the case feet and the chassis. After that, I installed the LEDs into the holes.
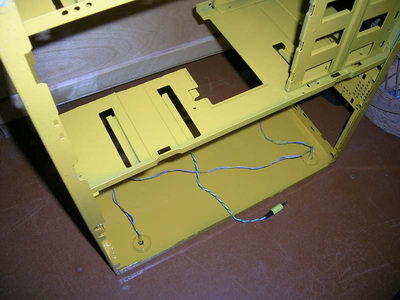
Installation of my new case feet is over
All that’s left for us to do, is to check if everything is working correctly: connect the power to the LEDs & voila! After checking the LEDs, you can glue them it, if you like.

My new LED Case feet are working!
That wasn’t so hard, was it? A little of work and we have our self a nifty modding accessory, that’ll make any case look cooler. Also, if you need more vibration-isolation, then you can glue some rubber mats to your new LED Case feet (My cheapskate way of doing this is cutting out little pads in the shape of the case feet from a cheap mouse-mat or some excess of linoleum).