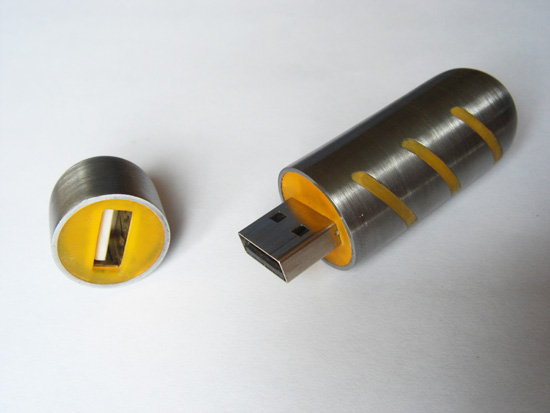
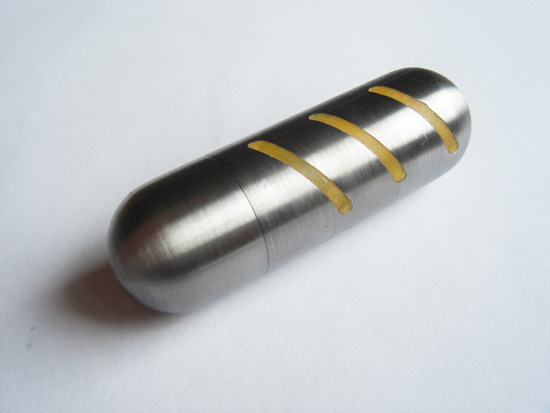
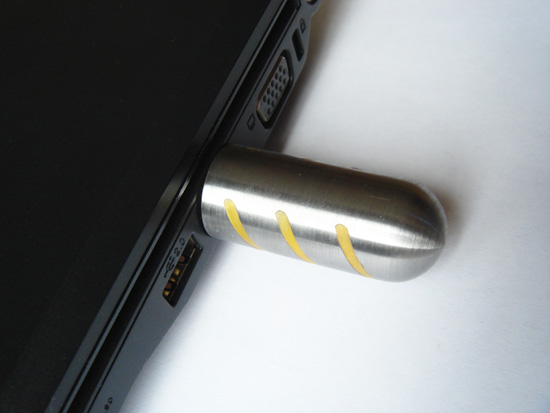
Editors note: as we all know, USB flash drives are one of the most convenient ways for transferring large amounts of data between computers, which is why they are so popular. Needless to say that many modding enthusiasts find it hard to ignore them — not only they are widespread, cheap and compact, but also very generic and dull looking. The combination of these characteristics has resulted in thumb drive modding becoming rather popular, making material selection one of the major issues in it. Finding an interesting material for the housing of a thumb drive can be challenging, so Gluk aka Dorosh has decided to use the worklog of his small modding project “Turbo Flash” to tell us about his experience of using a metal Powerlet CO₂ cartridge from a BB gun as a housing for a flash drive, since they are widespread, robust and conveniently sized.
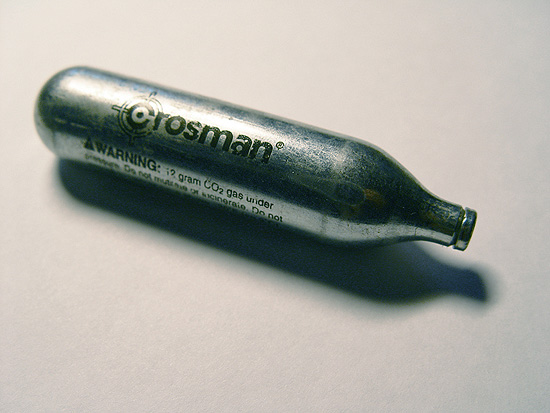
So, for this project we will need a regular 12 gram CO₂ Powerlet cartridge (two cartridges would be even better) — their metal body will make a good housing for a USB flash drive, particularly because of rigidity and size. The internal volume of a Powerlet cartridge can easily house almost any flash drive.
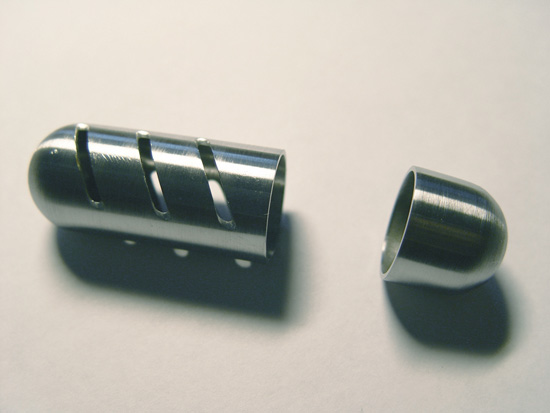
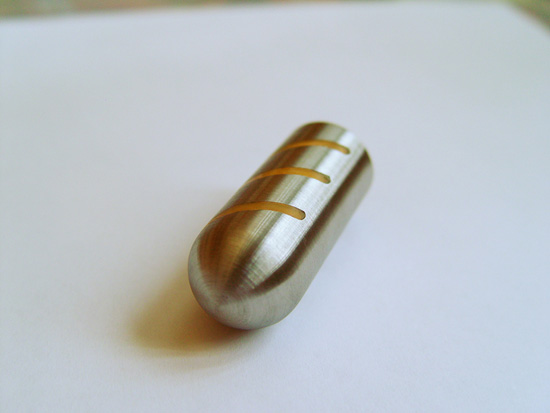
The first thing we need to do is to saw the Powerlet cartridge in two pieces, one of which will become the main housing part for the thumb drive, while the other will act as a cap. Personally, I disliked the idea of having a bottleneck-shaped cap for the flash drive, so I decided to make the cap from a semicircular end of the second CO₂ cartridge. It’s worth noting that the perpendicular cut needs to be very precise — even minor errors can result in a visible kink when connecting the main housing with the cap. Knowing this, the ends of our two metal pieces need to be polished against sandpaper, attached to a flat surface, e.g., a pane of glass. Many modding enthusiasts can basically end here — we’ve already got ourselves two metal pieces of housing for a flash drive, which are very stylish and minimalistic, but I decided to go deeper. Wanting something with more details, I made three diagonal cuts on both sides of the main metal housing part. These cuts were made with two stacked together hacksaw blades and required trimming with needle files afterwards. After trimming with needle files, the cuts were polished with sandpaper, wrapped around a plastic card.
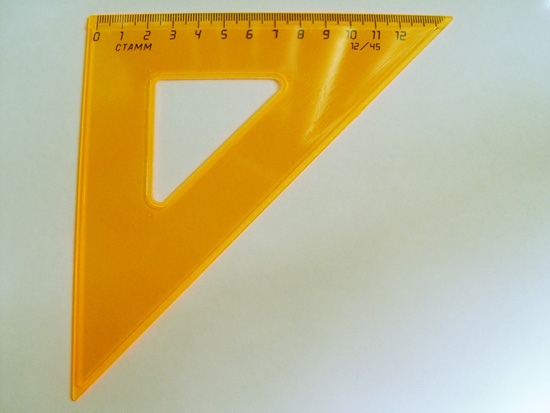
Of course we couldn’t just leave those cuts in the housing exposed, so I started to think up a good filler for them. After iterating through a few solutions, I came to quite an interesting option. A quick trip to a local office supplies store and I’ve got myself a plastic ruler made form fluorescent plastic of orange color — I think this color will go well with brushed metal. It’s a good idea to check so that the thickness of plastic will be approximately the same as our cuts or rather slightly exceed them.
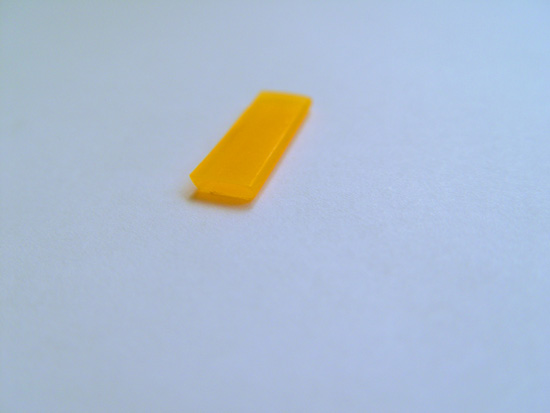
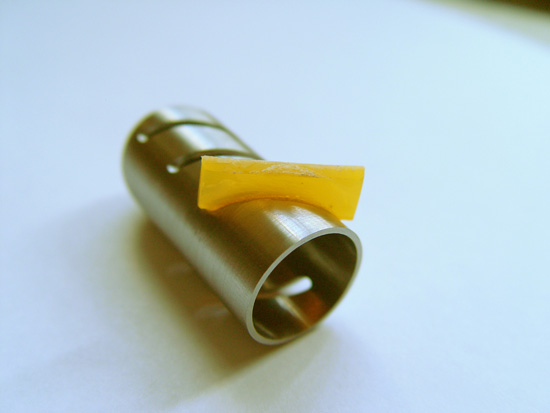
Now we need to cut out a small piece of plastic from the ruler, keeping in mind that this piece should be a little longer and taller than our cut, while staying slightly wider than the cut. The end of this piece of plastic should be rounded with sandpaper to achieve a semicircle profile — it will help to install the piece in our metal housing.
It’s time to get some dichloroethane, which is also referred to as ethylene dichloride. This stuff is certainly known by modding enthusiasts that regularly work with plexiglass, since it can be used as adhesive or solvent for it. Using a small brush or a cotton swab we need to quickly drench the sides and the semicircled end of our plastic piece with dichloroethane. Now wait a few seconds until the dichloroethane softens the surface of plastic and jam the plastic piece into the cut, using force (you can help yourself by using a hammer). Check so there are no gaps.
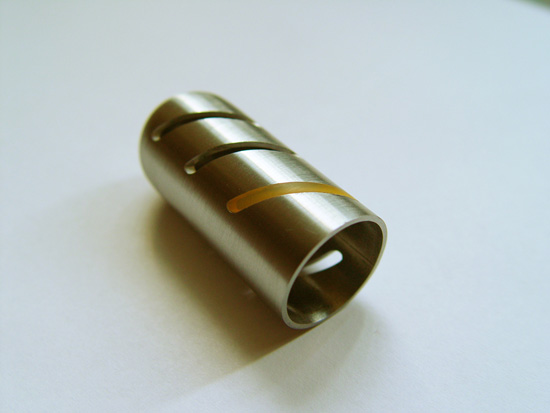
It’s tea time (just don’t forget to wash you hands since dichloroethane is rather nasty)! Now we need to just sit back and wait while any traces of dichloroethane evaporate from the plastic and it regains its original hardness — it will take a few hours, during which you shouldn’t touch it since it can loosen its tight fit. After everything has dried, you can cut off all the excessive plastic, trying to avoid damaging the metal surface, and then sanded it flush with the housing.
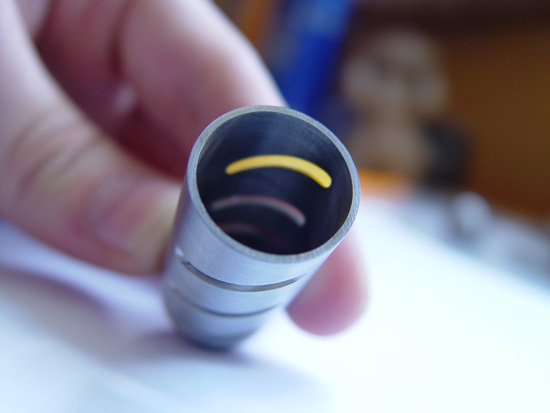
You can also grind off the excessive plastic from the inside of the metal housing, although it is not necessarily. It possible that leaving the excessive plastic inside will result in the plastic being installed more reliably, but it also can interfere with the installation process of some thumb drives inside the housing.
Despite its small thickness, the plastic was well secured in its place. Since this technique proved to be successful, I quickly repeated the process with all other slots. After that, the housing got a complete polishing.
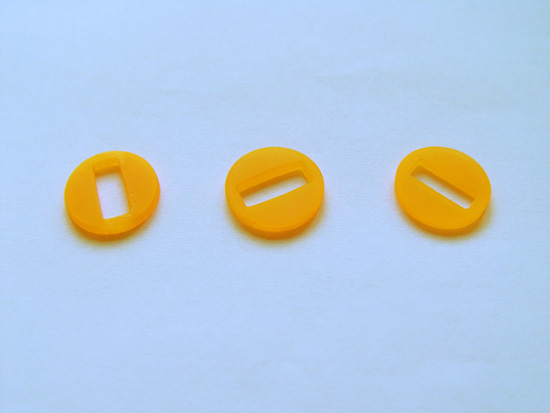
The time has come to make a some kind of retention mechanism for the circuit board of our thumb drive. To do this we need to cut out three plastic washers from the ruler which would have their size exactly matched with the inner diameter of the metal housing. After cutting out the washers themselves, we need to cut out special slots in them, so that two of the washers will fix the circuit board of our flash drive inside the main housing, while the third washer will be installed into the cap, allowing it to be put on the USB plug of the flash drive.
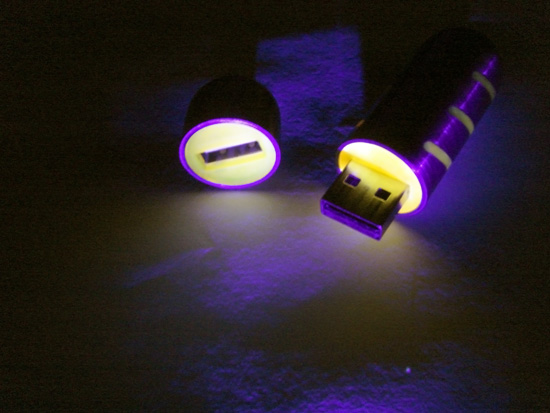
As with many modding projects, the time has come for some illumination action! It would be a shame to not take advantage of the fluorescent properties of the plastic parts, so I decided to use a 3 mm UV led. Swapping the stock led from the circuit board of the flash drive didn’t work, since the voltage was too low — the UV led was barely working. The only other source of power was the USB connector, which had a 5 V line, but just using it would mean that we will lose the activity indicating feature of the led.
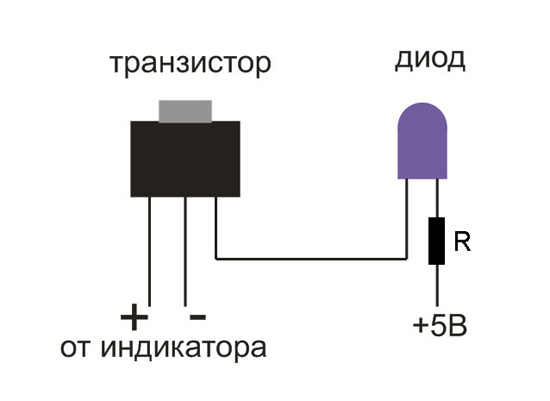
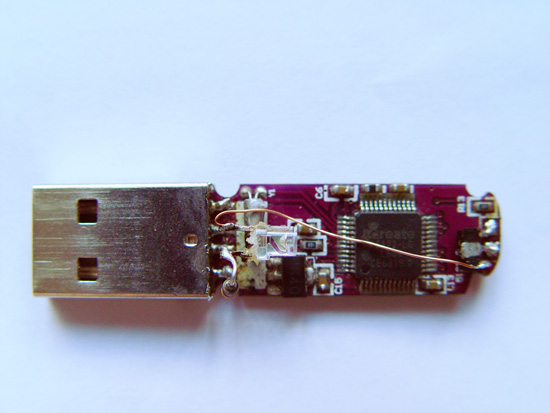
My basic electronics skills have prompted me to use a transistor as a solution for this problem, so I took an absolutely random transistor from a circuit board of an old hard drive. To tell you the truth, the choice was totally random — I didn’t select the transistor based on its specifications, nor did I even check its label. Despite such sloppy approach, everything worked flawlessly, much to my surprise. In a nutshell, we take the 5 V line from the USB plug as a power source and connect it to our UV led thru an appropriate resistor, while the ground wire is connected to the transistor, which is active only when it detects power on the standard activity led. Here’s a simple circuit diagram.
I surface-mounted all of the elements on the circuit board of the flash drive — it’s not a very pretty solution, but it doesn’t really matter, since it will be installed inside the metal housing and we won’t see it.
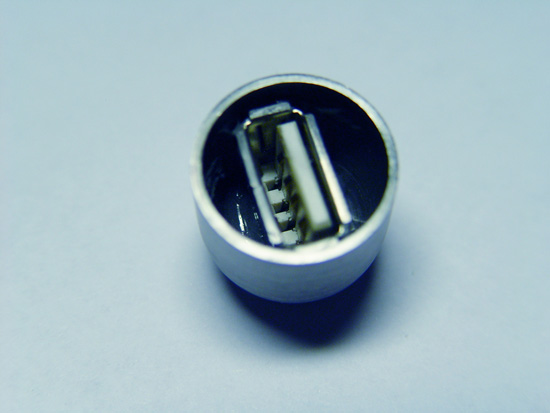
Now lets glue the circuit board of the flash drive to our two cut out plastic washers, after which we glue them in the metal housing. Everything is almost ready, all that’s left is to finish the cap. Next we need to glue a female USB connector inside the metal cap, so that the cap can be installed on the USB plug of the thumb drive.
The last thing we need to do is to glue the last washer into the metal cap, covering the area around the USB connector and we’re done. Now we can enjoy the finished result.
